Materials
- 1.2% saline solution (18 g NaCl/ 1500 mL DI water)
- Artificial Pond Water (two 1 L bottles, NIH recipe)
- 500 µL FeCl3
- 2,500 µL CaCl2
- 2,500 µL MgSO4
- 1,250 µL Phosphate Buffer
- Fill to 1 L with DI water
- Blender
- Parafilm
- Small plastic petri dish
- Glass petri dish
- Dissection kit (tweezers, scalpel)
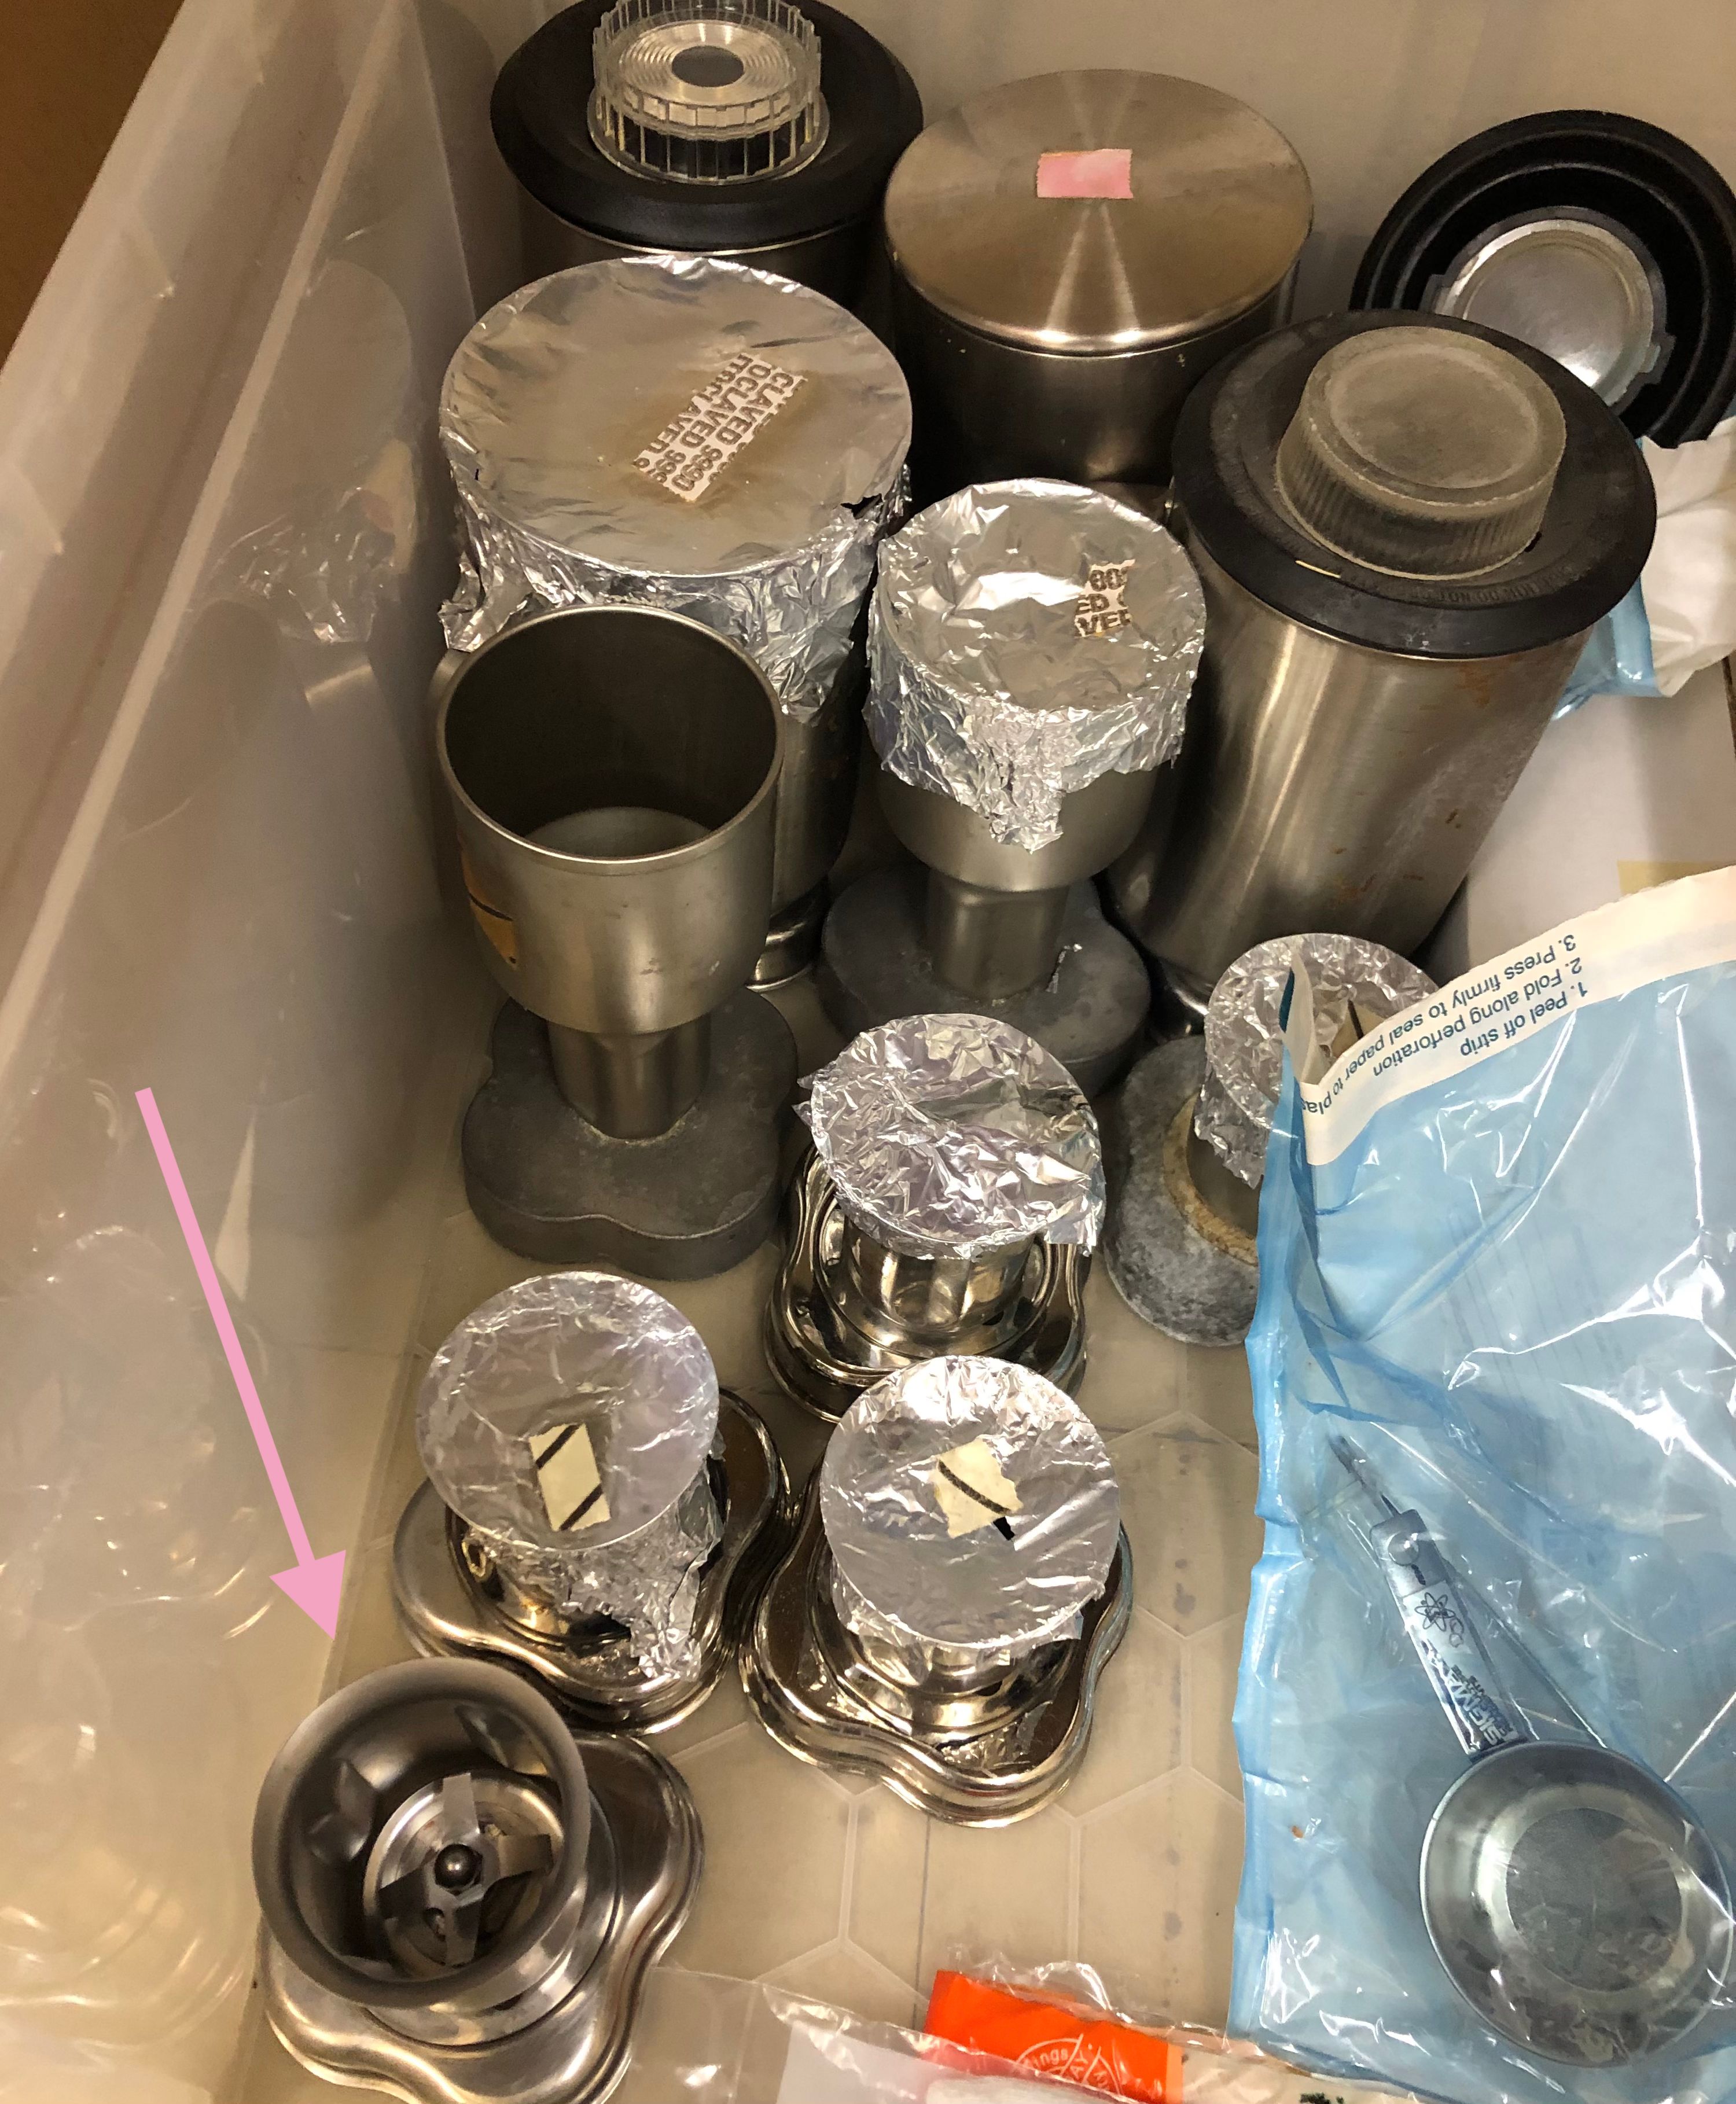
- 15 mL conical tubes (2)
- 50 mL conical tubes (2)
- 500 mL beaker
- 1 L volumetric flask
- Aluminum foil
- Waste beaker (2-3 L volume)
- Disposable transfer pipettes (4 mL)
- Thermometer
- Funnel
- Micropipette (p1000) and tips
- 1.5 mL tubes (2)
- Microwave
- Goose-neck microscope illuminator
- Refrigerated centrifuge (swing bucket)
Protocol
Note: Protocol adapted from Yoshino et. al. 2018
- Turn on centrifuge so it has time to cool to 4C.
- Once livers are obtained, place them in a glass petri dish and inspect them. Take pictures of anything unusual and add it to your lab notebook.
- Use tweezers to transfer the livers to a blender cup, fill with enough 1.2% saline solution to just cover the livers in the blender (choose the smallest size cup - image below).
- Blend for 20 sec. on low, 10 sec. on high, 20 sec. low, 10 sec. high, 20 sec. low, 10 sec. high, (total of one minute and 30 seconds).
- Pour this homogenate into 50 mL conical tube(s) - fill up to 50 mL and pour any excess into the second tube. Fill the rest of the second tube with saline so that the tubes are balanced in the centrifuge.
- Mix these by dumping both 50mL tubes and their contents into a 500 mL beaker. Swirl liquid around and refill the two 50 mL conical tubes with this mixed homogenate.
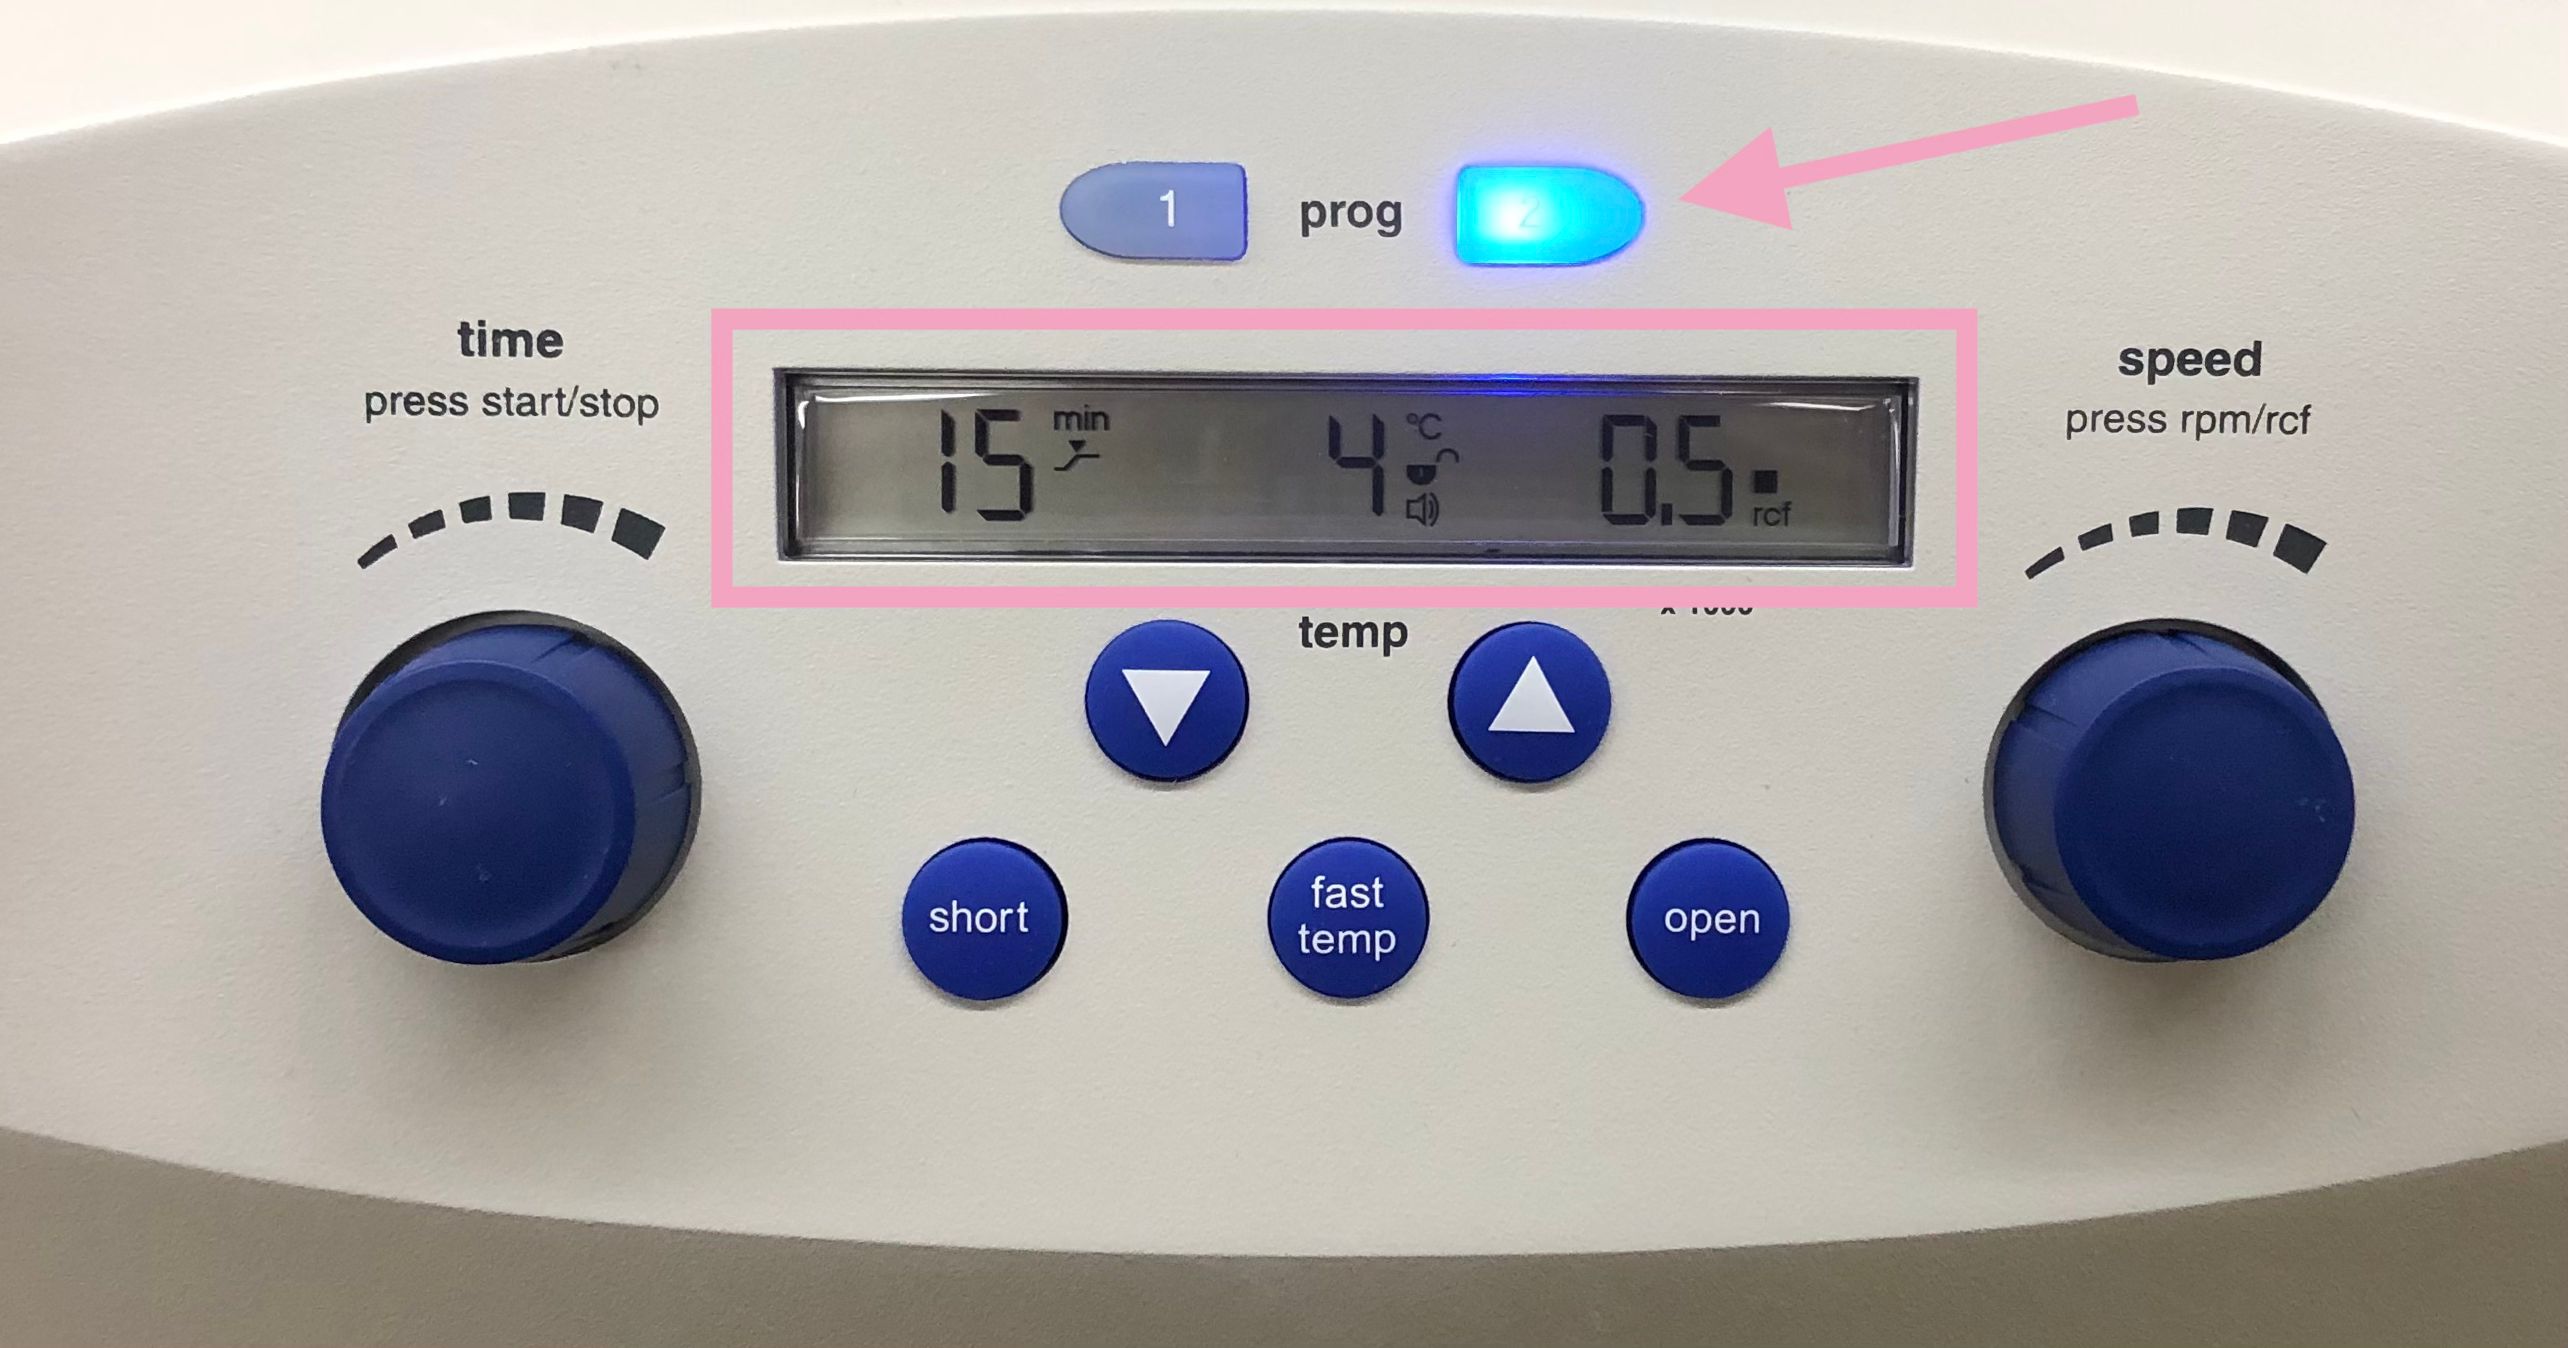
- Centrifuge both tubes for 15 minutes, 0.5 rcf, 4C (Program 2).
- Prepare the 1 L flask by covering it in aluminum foil.
- Fill a beaker with 100 mL of APW and place on the hot plate on heat setting 1 (low). Insert a thermometer into the beaker to monitor the temperature.
- Following centrifugation, decant the supernatant into a waste beaker and resuspend in fresh artificial pond water (APW) (fill both tubes to 50 mL and shake them vigorously to resuspend contents)
- Pour contents from both 50 mL tubes into the 1 L flask (covered in aluminum foil). Use funnel for easier transfer.
- Fill flask with room temp APW and place the black cap on the flask. Screw the lid on loosely; over tightening can prevent miracidia from reaching the sides of the flask.
- Use a fresh transfer pipette to add ~4 mL of warmed APW (32-34C) to the side of the flask. Create a temperature gradient by releasing warmed APW along the sides of the flask.
- Add light source just below the surface of the water (image below) and wait the desired time before extracting (varies between experiments).
- After desired time draw off 8 mL of miracidia from the side of the flask (they should be swimming around) and transfer to a 15mL conical tube using a disposable transfer pipette. Replace this volume with warmed APW if you plan on extracting again.
- Centrifuge these tubes for 1 minute, 1.0 rcf, 4C.
- After centrifugation, remove as much excess APW from the tube as possible using a p1000. Pipette this excess liquid into a glass petri dish to make sure there aren’t any miracidia. Repeat this for second tube.
- Once 7 mLs have been removed (1 mL left), gently mix with p1000 and transfer all of it to a 1.5 mL tube. Repeat for the second tube.
Make note of ice packs (cold, frozen, melted, etc.), liver count and condition - they should look infected.

The blender cup shown below is most likely already on the table ready for you to use. Make sure you cover the top of the blender with aluminum foil before blending.
While waiting:


When decanting supernatant, pour carefully - the pellet at the bottom of the tube can come loose easily - be sure not to lose any of the liver content.
When filling the 1 L flask with APW fill very slowly as it will bubble up the right side before entering into the flask. Fill until it looks like the image below.

This is what the flask should look like while waiting the desired time for mircaidia to hatch.


Once the miracidia are in the 1.5mL tubes, they are ready to be used for experiments!
Legacy Yoshino lab protocols
Transformation of miracidia to primary sporocysts
Note: All steps should be performed within the BSC.
- Prepare the CBSS+P/S. If it's a new bottle (100 mL), and one tube of the antibiotics (same stock concentration used for media/cell culture). Divide the contents into three 50 mL tubes, approximately 33 mL per tube (generally you will only need one tube/prep). Keep one tube in the hood, label the others and store at 4ºC until needed.
- After spinning the tubes, immediately draw off the pond water with a pipette. Be careful not to draw up any parasites. Do this for all the tubes you have collected. Re-suspend the miracidia in approximately 1 mL of sterile CBSS+P/S (i.e. if you have four tubes, add approximately 330 µL to three tubes, make sure the parasites are in suspension, and add the contents to the tube that was not re-suspended. You'll end up with one tube in the end). Cover the tube and place back on ice for 5-6 minutes.
- Spin the parasites again for 1 minute, 4ºC, 1600 rpm.
- Draw off the CBSS+P/S with a pipette, once again using caution not to draw up the parasites. Re-suspend the miracidia with CBSS+P/S (approximately 5000 parasites/mL). Aliquot the parasite suspension into 24-well tissue culture plates (only use the center eight wells). Generally from 20 livers, you should end up with 14-18 wells.
- After filling the plate, put two small pieces of tape on the side to prevent the lid from accidentally coming off, and put the in the incubator (24-26ºC).
Removal of ESP from primary sporocysts
- After the parasites have transformed to primary sporocysts, excretory-secretory products should be removed from the plates. Transformation generally occurs between 24-48 hours after the parasites have been placed in culture.
- Take a new tube of CBSS+P/S and let it come to room temperature.
- Gently re-suspend the parasites by swirling the plate. Le tthe parasites settle back to the bottom, remove as much of the media as possible from each of the wells and place it into a 15 mL tube. Gently re-suspend the parasites again and combine the wells using either a fire polish glass pipette or sterile plastic pipette (combine 3-4 wells). Add fresh media to the wells which you removed the parasite suspension. After the parasites settle, once again remove as much media as possible from the well. Take care not to remove any sporocysts and add the media to the 15 mL tube.
- Add media to the wells that contain the sporocyst, gently re-suspend, and re-distribute back into the wells which parasites were removed.
- Place the plates containing parasites back into the incubator.
- Spin the ESP to pellet the plates and any residual parasites. You can spin at room temperature, 2000 rpm, 6-10 minutes.
- Remove the supernatant, place back into a 15 mL tube (make sure it is a polypropylene/"cloudy" plastic). Add the appropriate amount of protease inhibitors (Roche Mini-tab Complete Protease Inhibitors, EDTA-free). Store at -80ºC.